Getting Started with DScam (iOS)
Introduction:
The following guide will walk you through the steps necessary for installing the iOS app to connect to a Synology Surveillance Station.
This guide is designed for use with an iPhone.
Requirements:
-
An iPhone
-
Login credentials for your NVR (camera system)
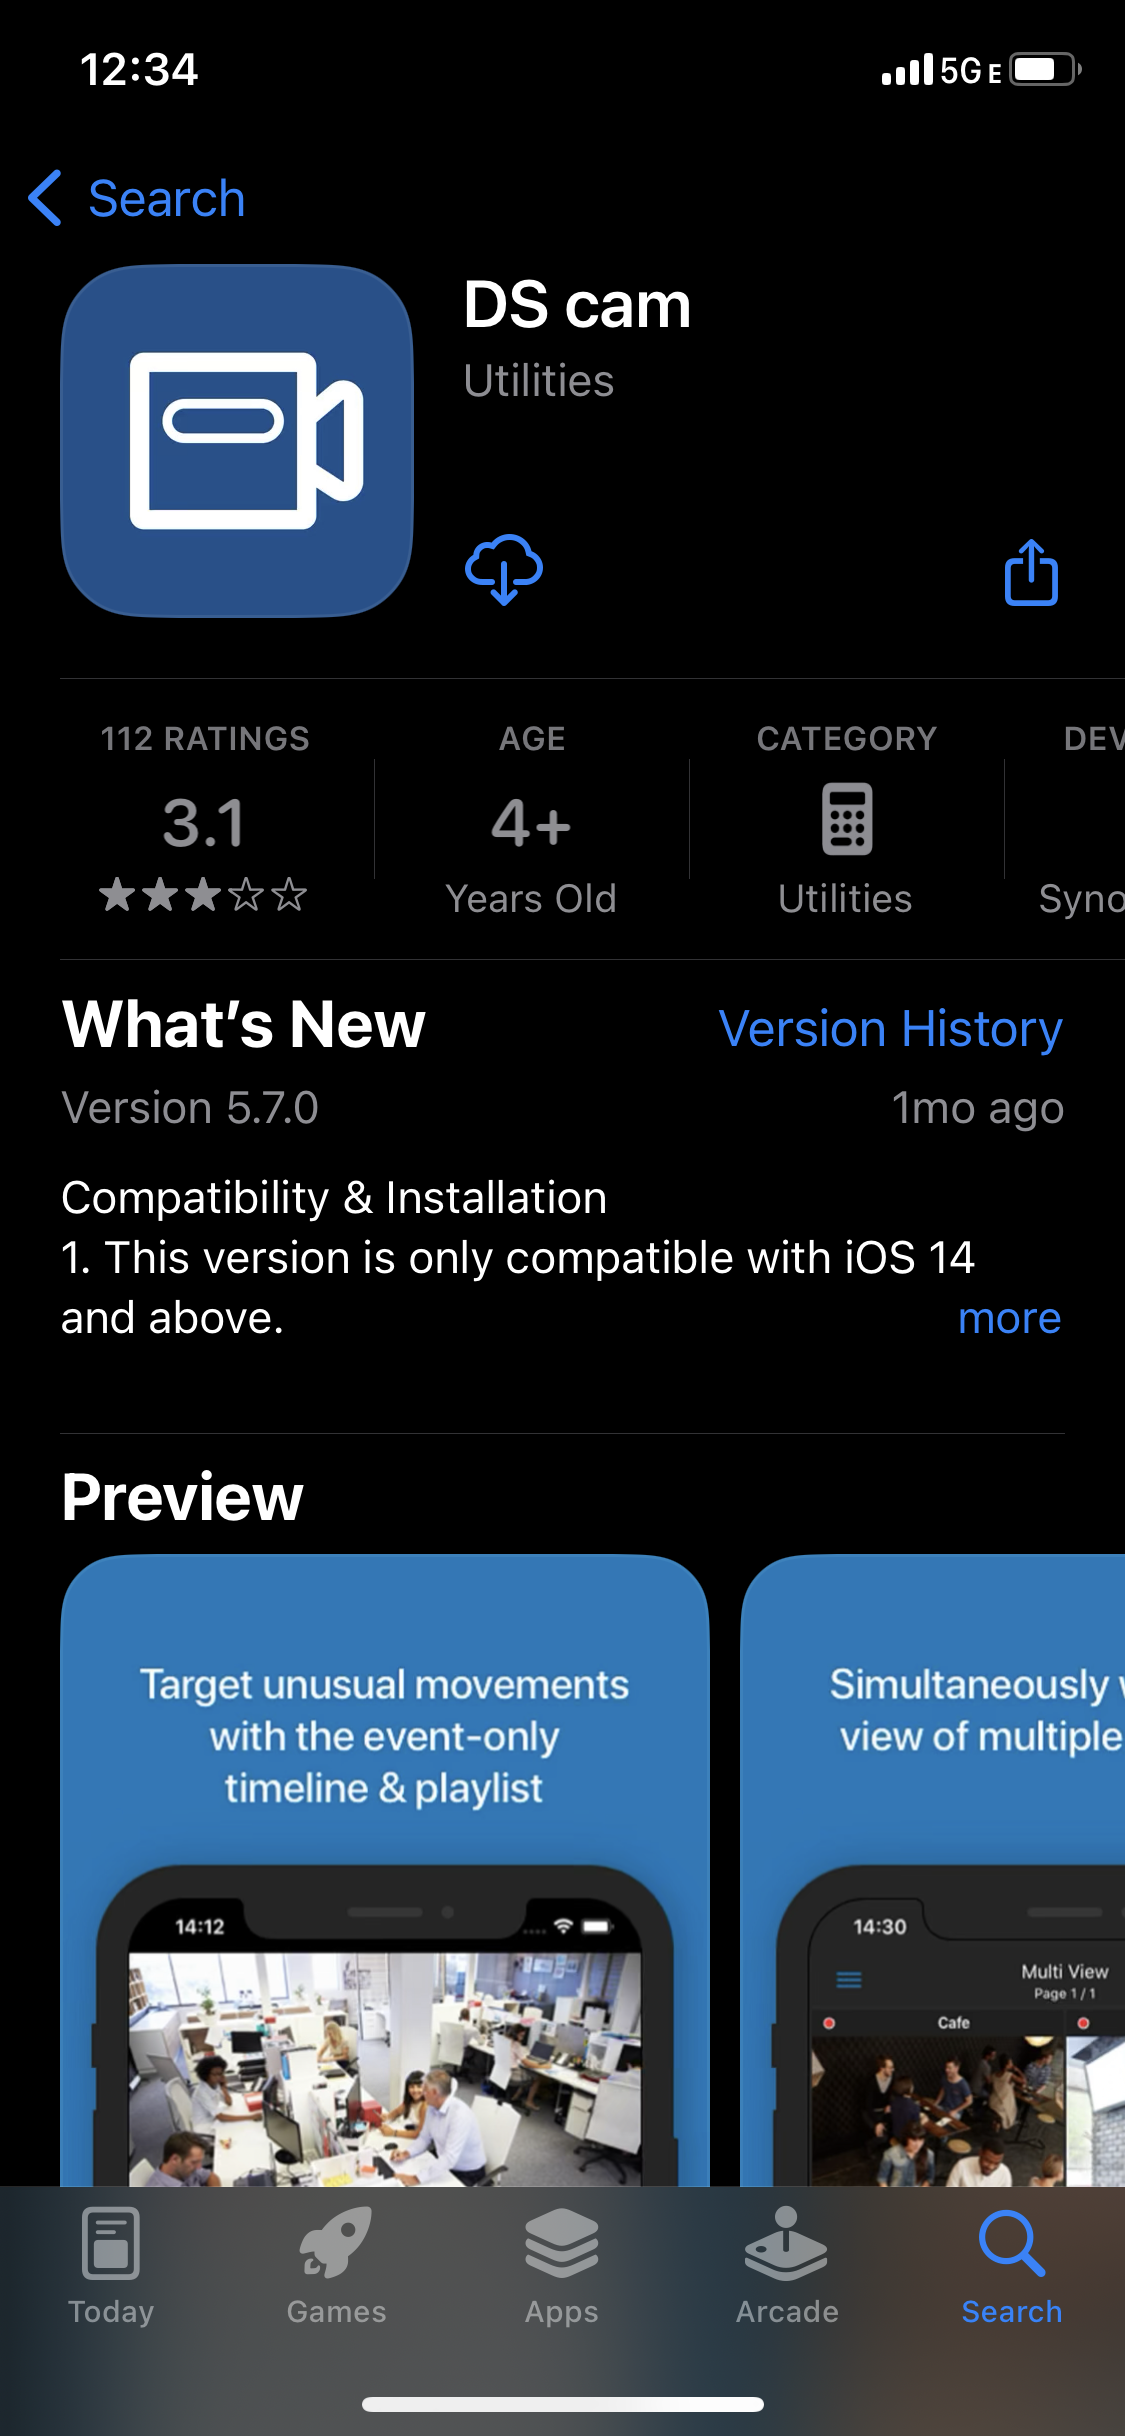
Step 1. Get the app
To begin the process we will need to locate and install DS cam from the App Store.
- Open the App Store
- Search for "DS cam"
- Install DS cam
Figure 1:
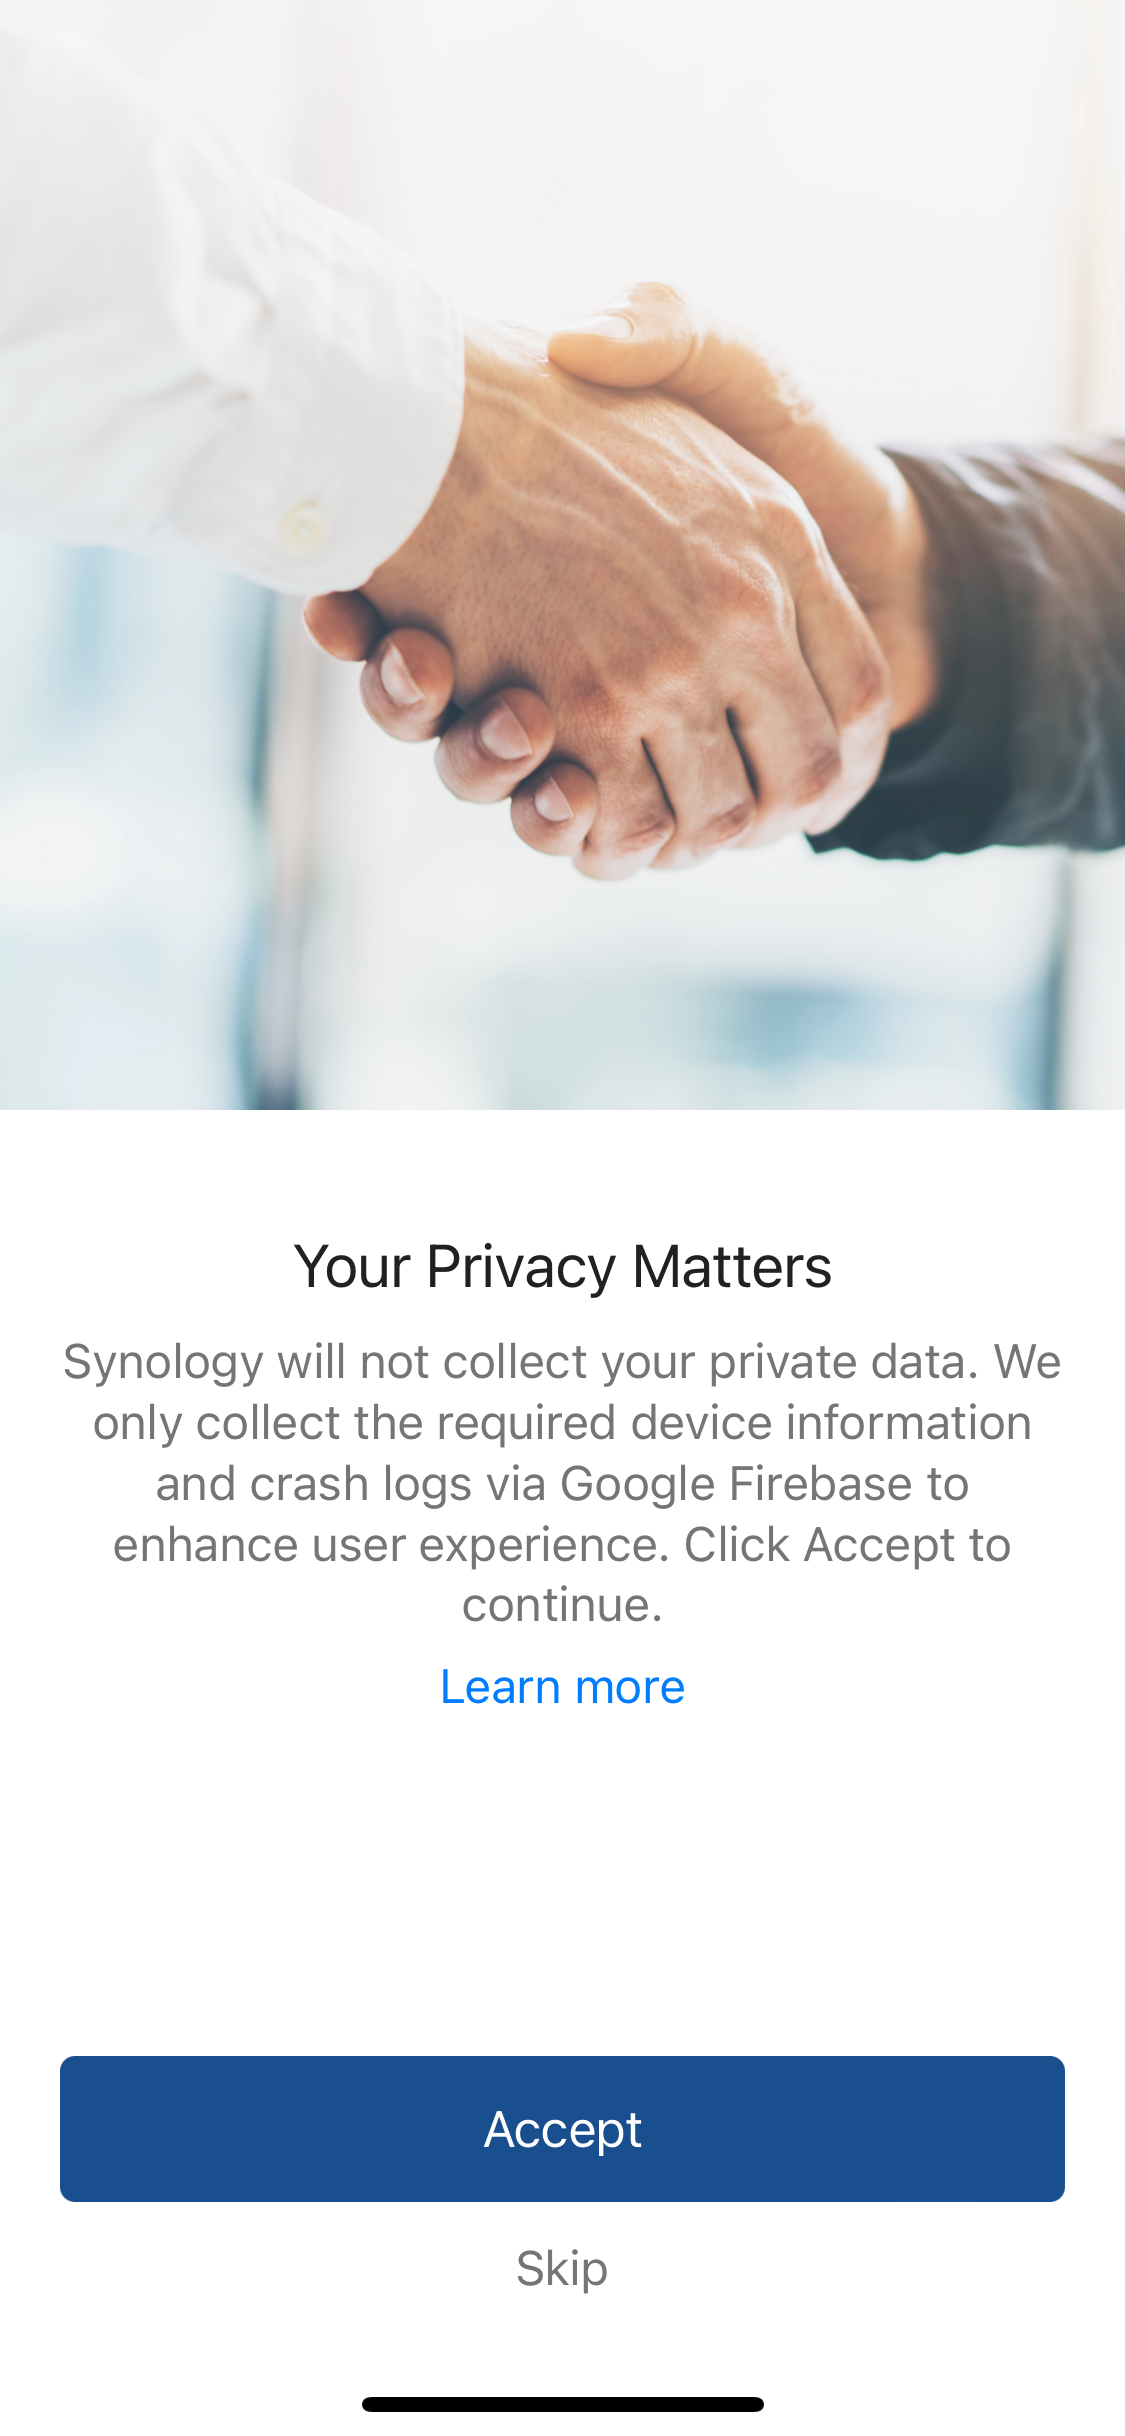
Step 2. Launch the app & skip data collection
Next, we will create an account through Element Messenger.
- Launch DS cam
- Click "Skip"
Figure 2:
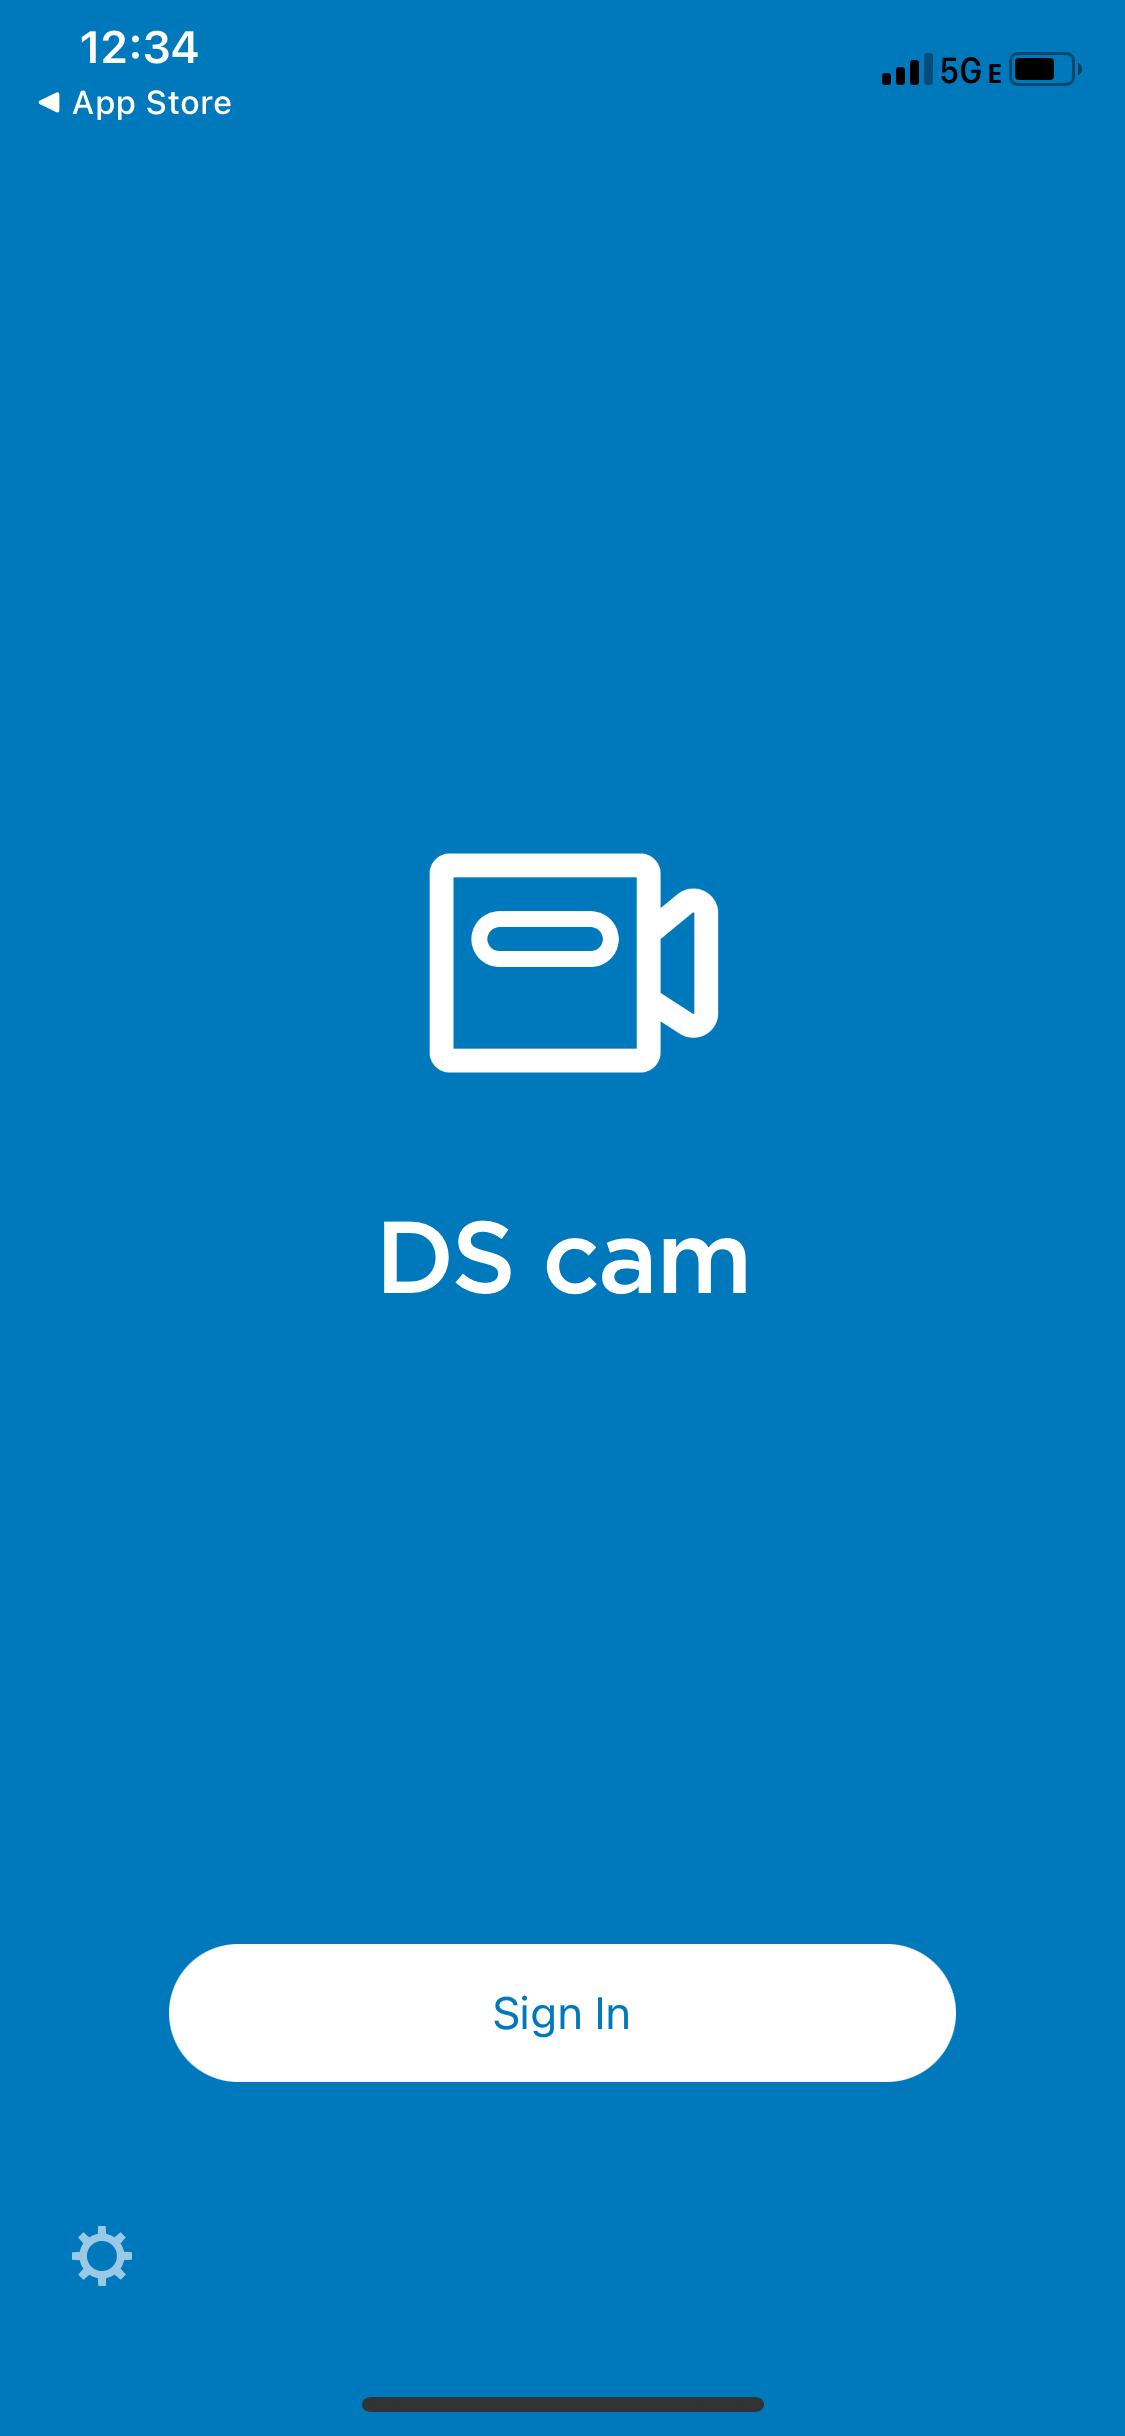
Step 3. Sign in
You'll be prompted with a sign in button.
- Click "Sign In"
Figure 3:
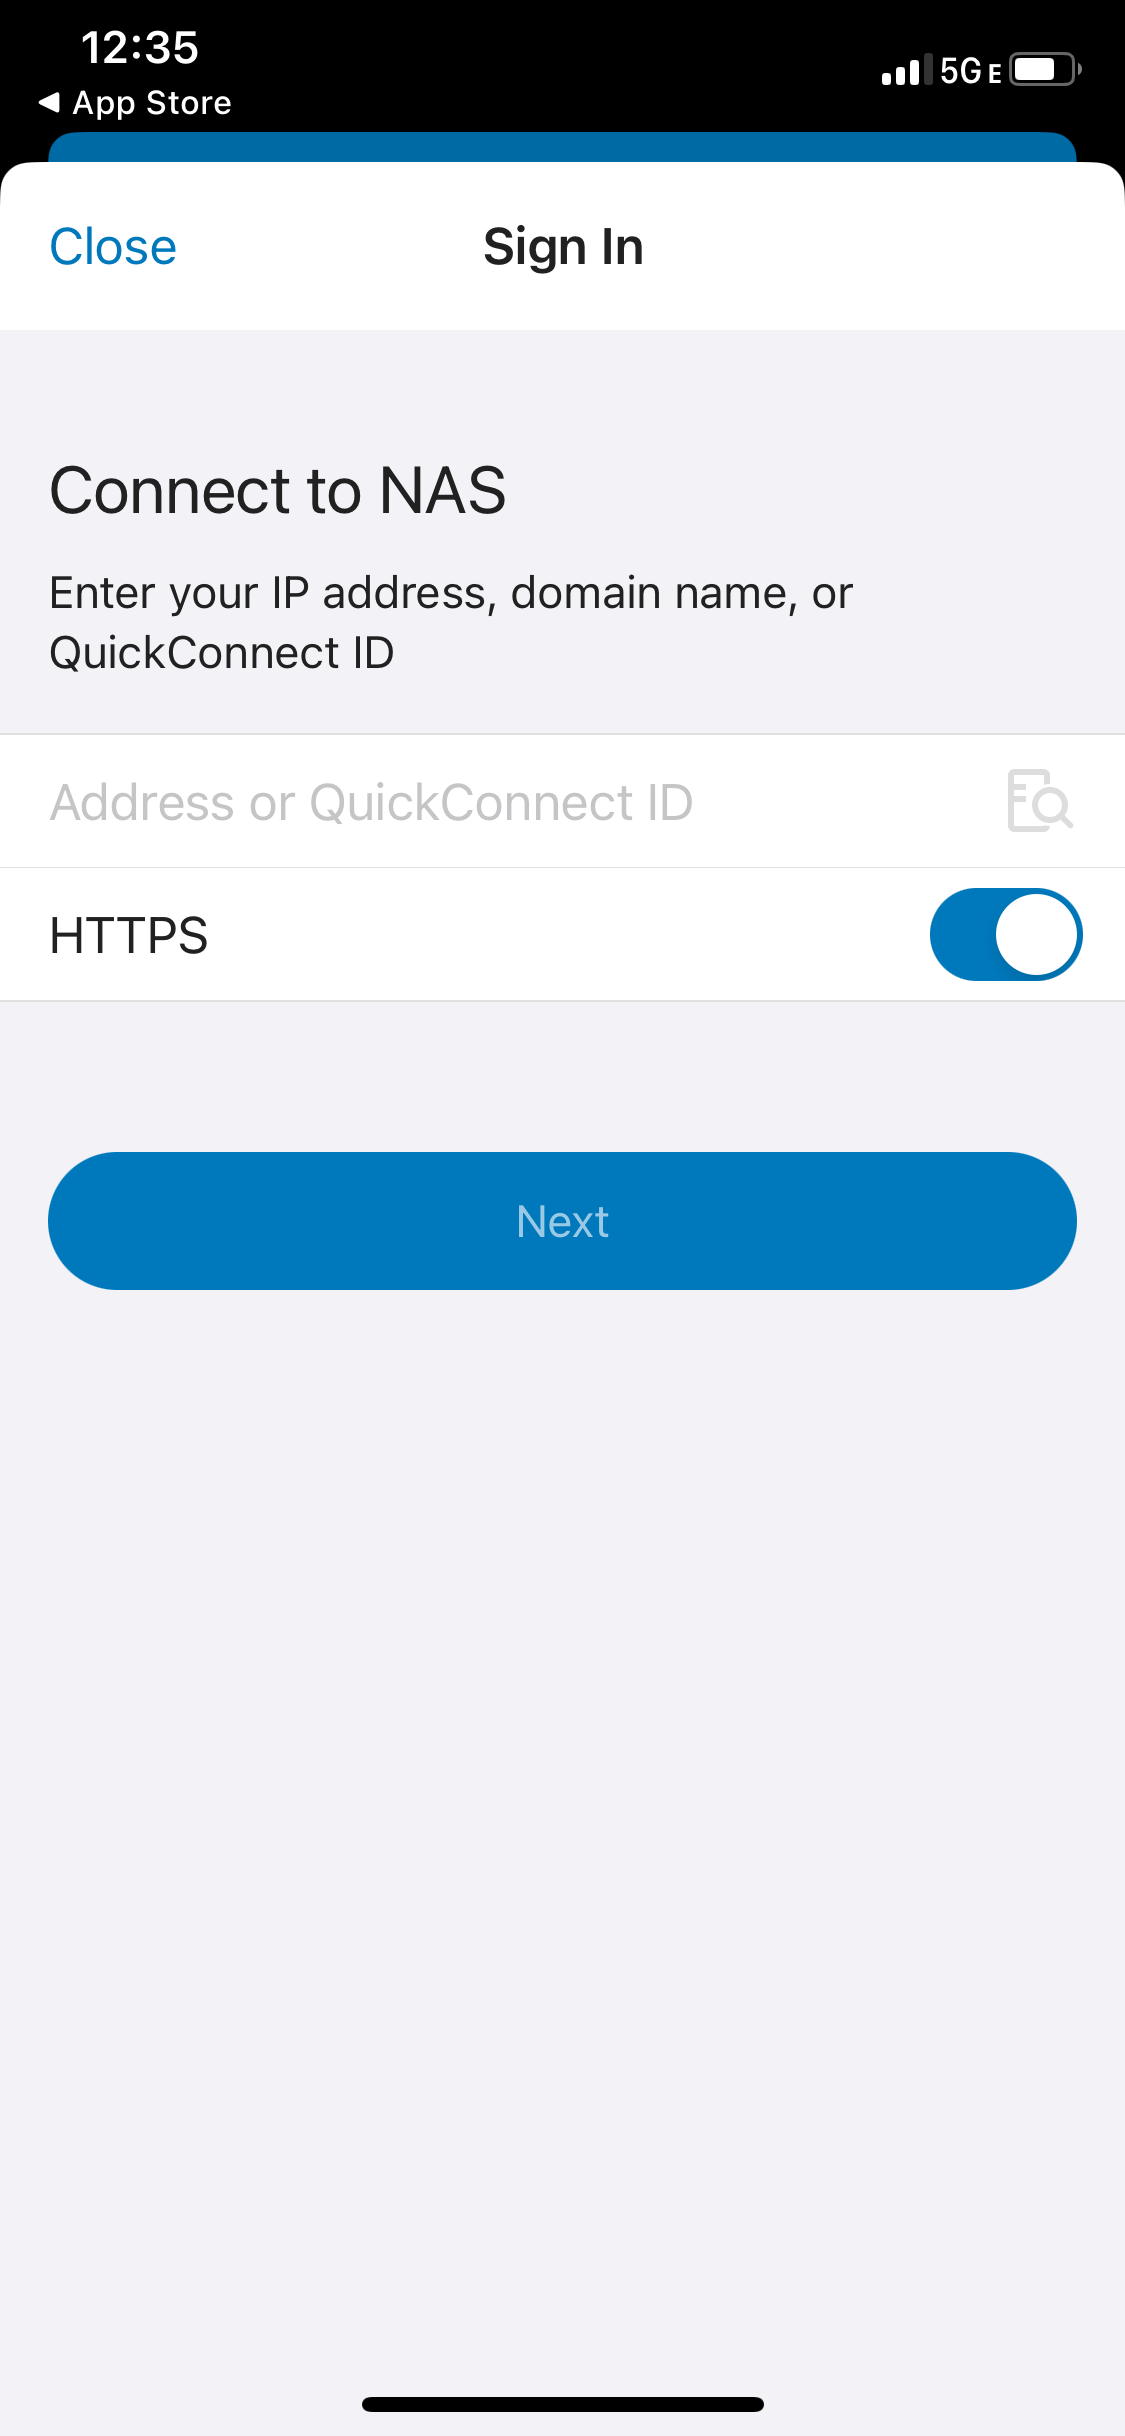
Step 4. Enter IP address
Enter the IP address of your camera system.
- Enter IP address in empty dialogue box
- Click "Next"
Figure 4:
<
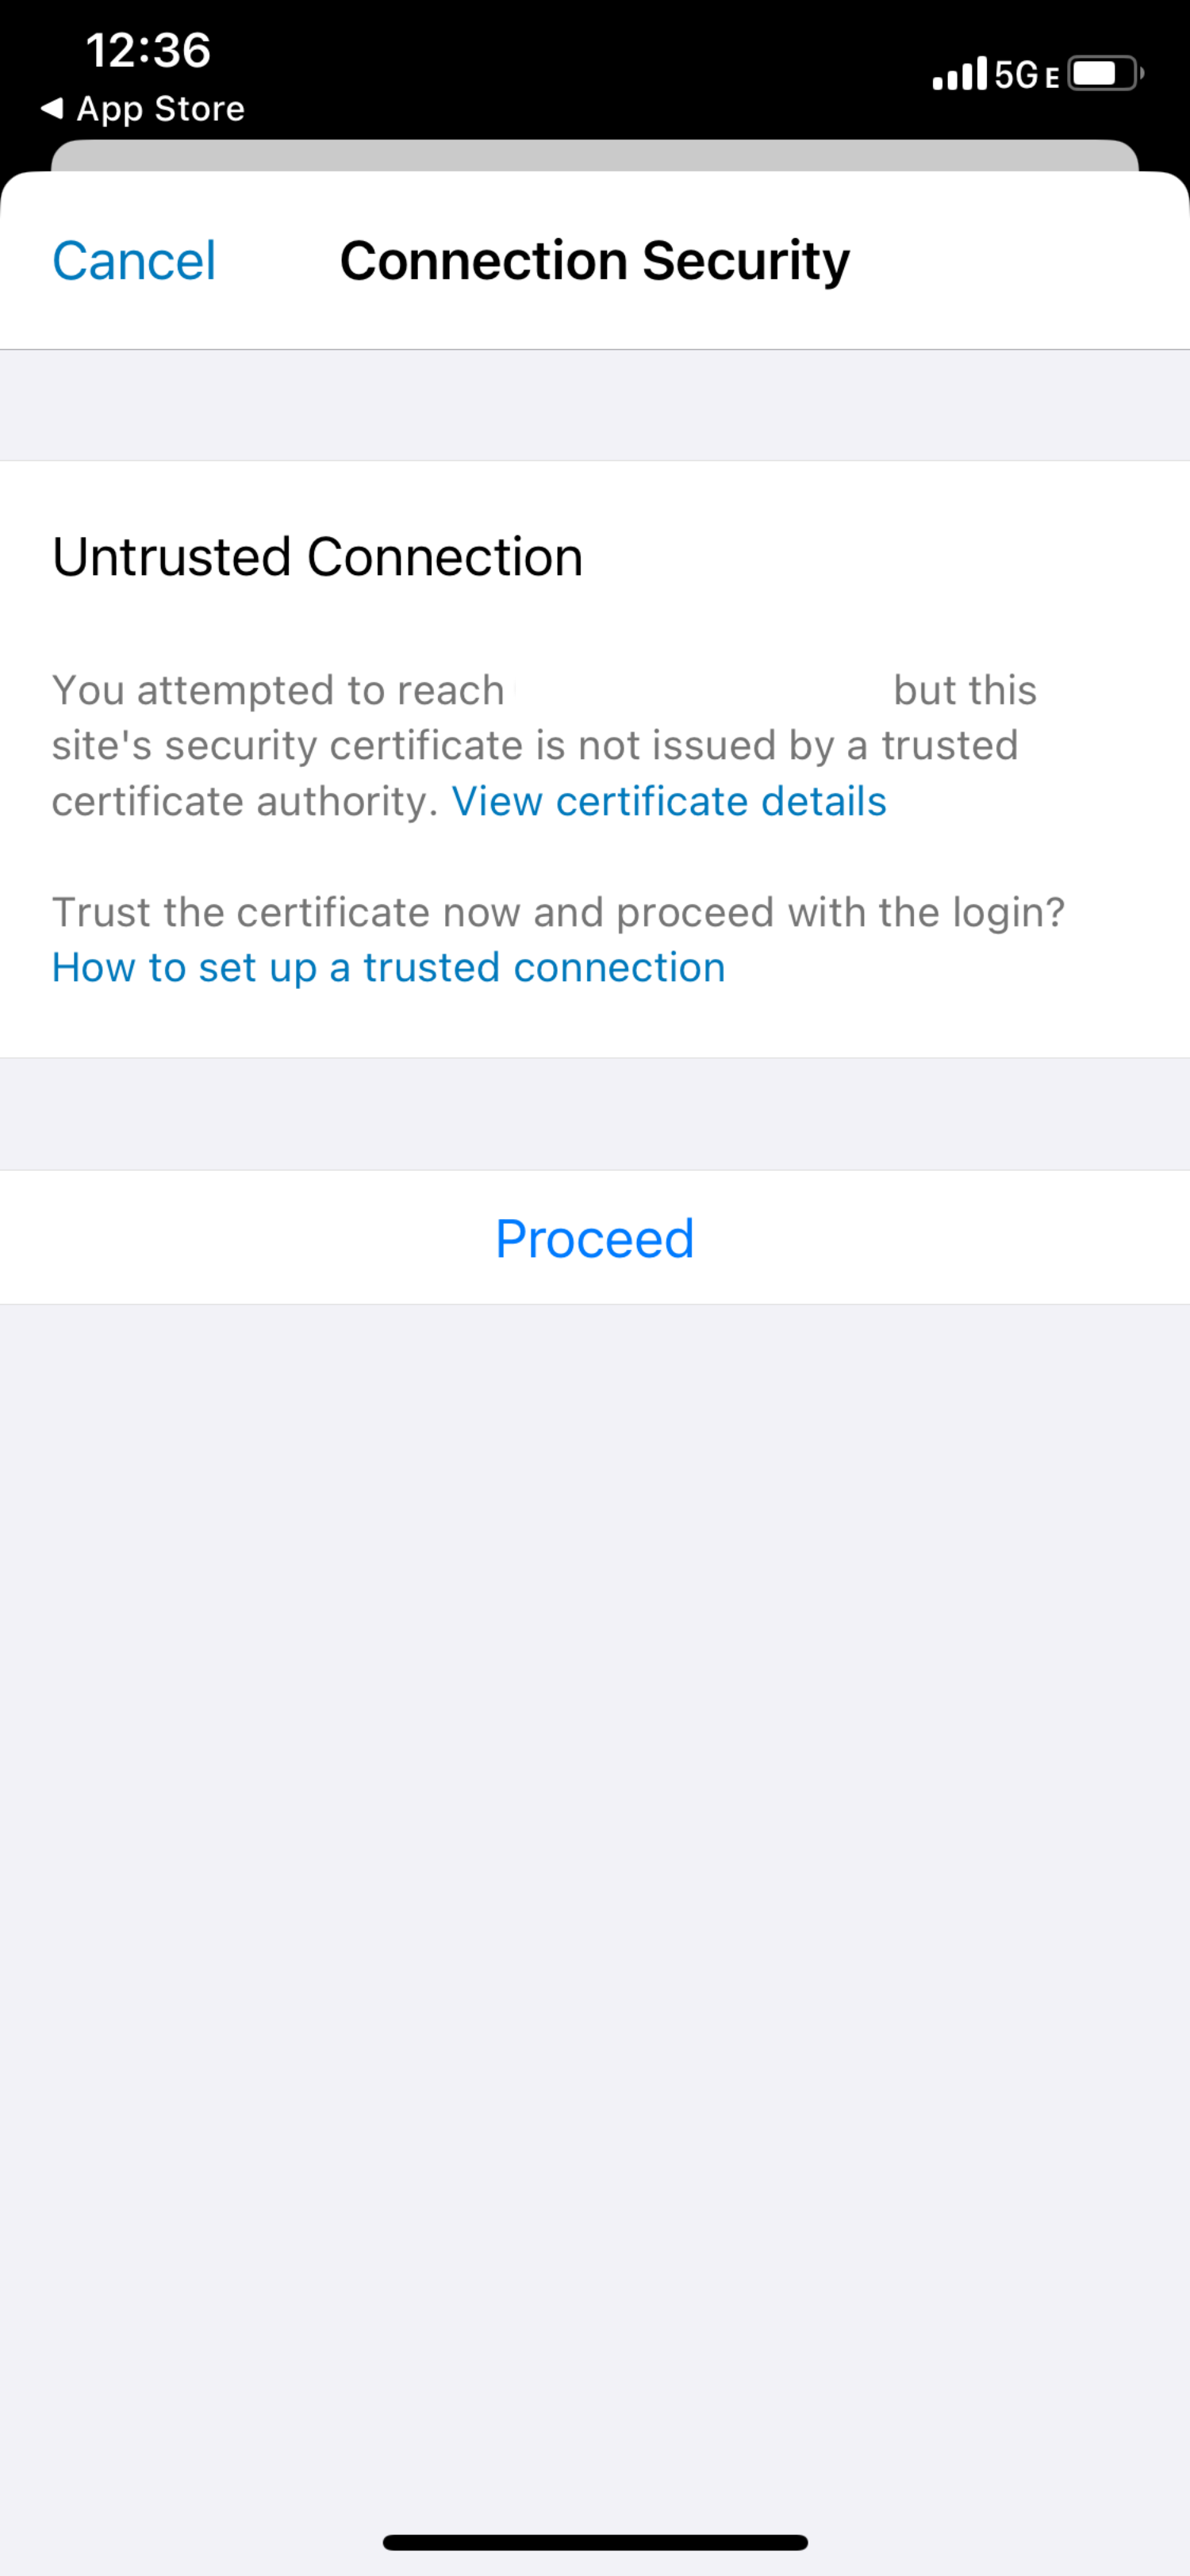
Step 5. Proceed through security prompt
You'll be prompted if you'd like to proceed with this connection.
- Click "Proceed"
Figure 5:
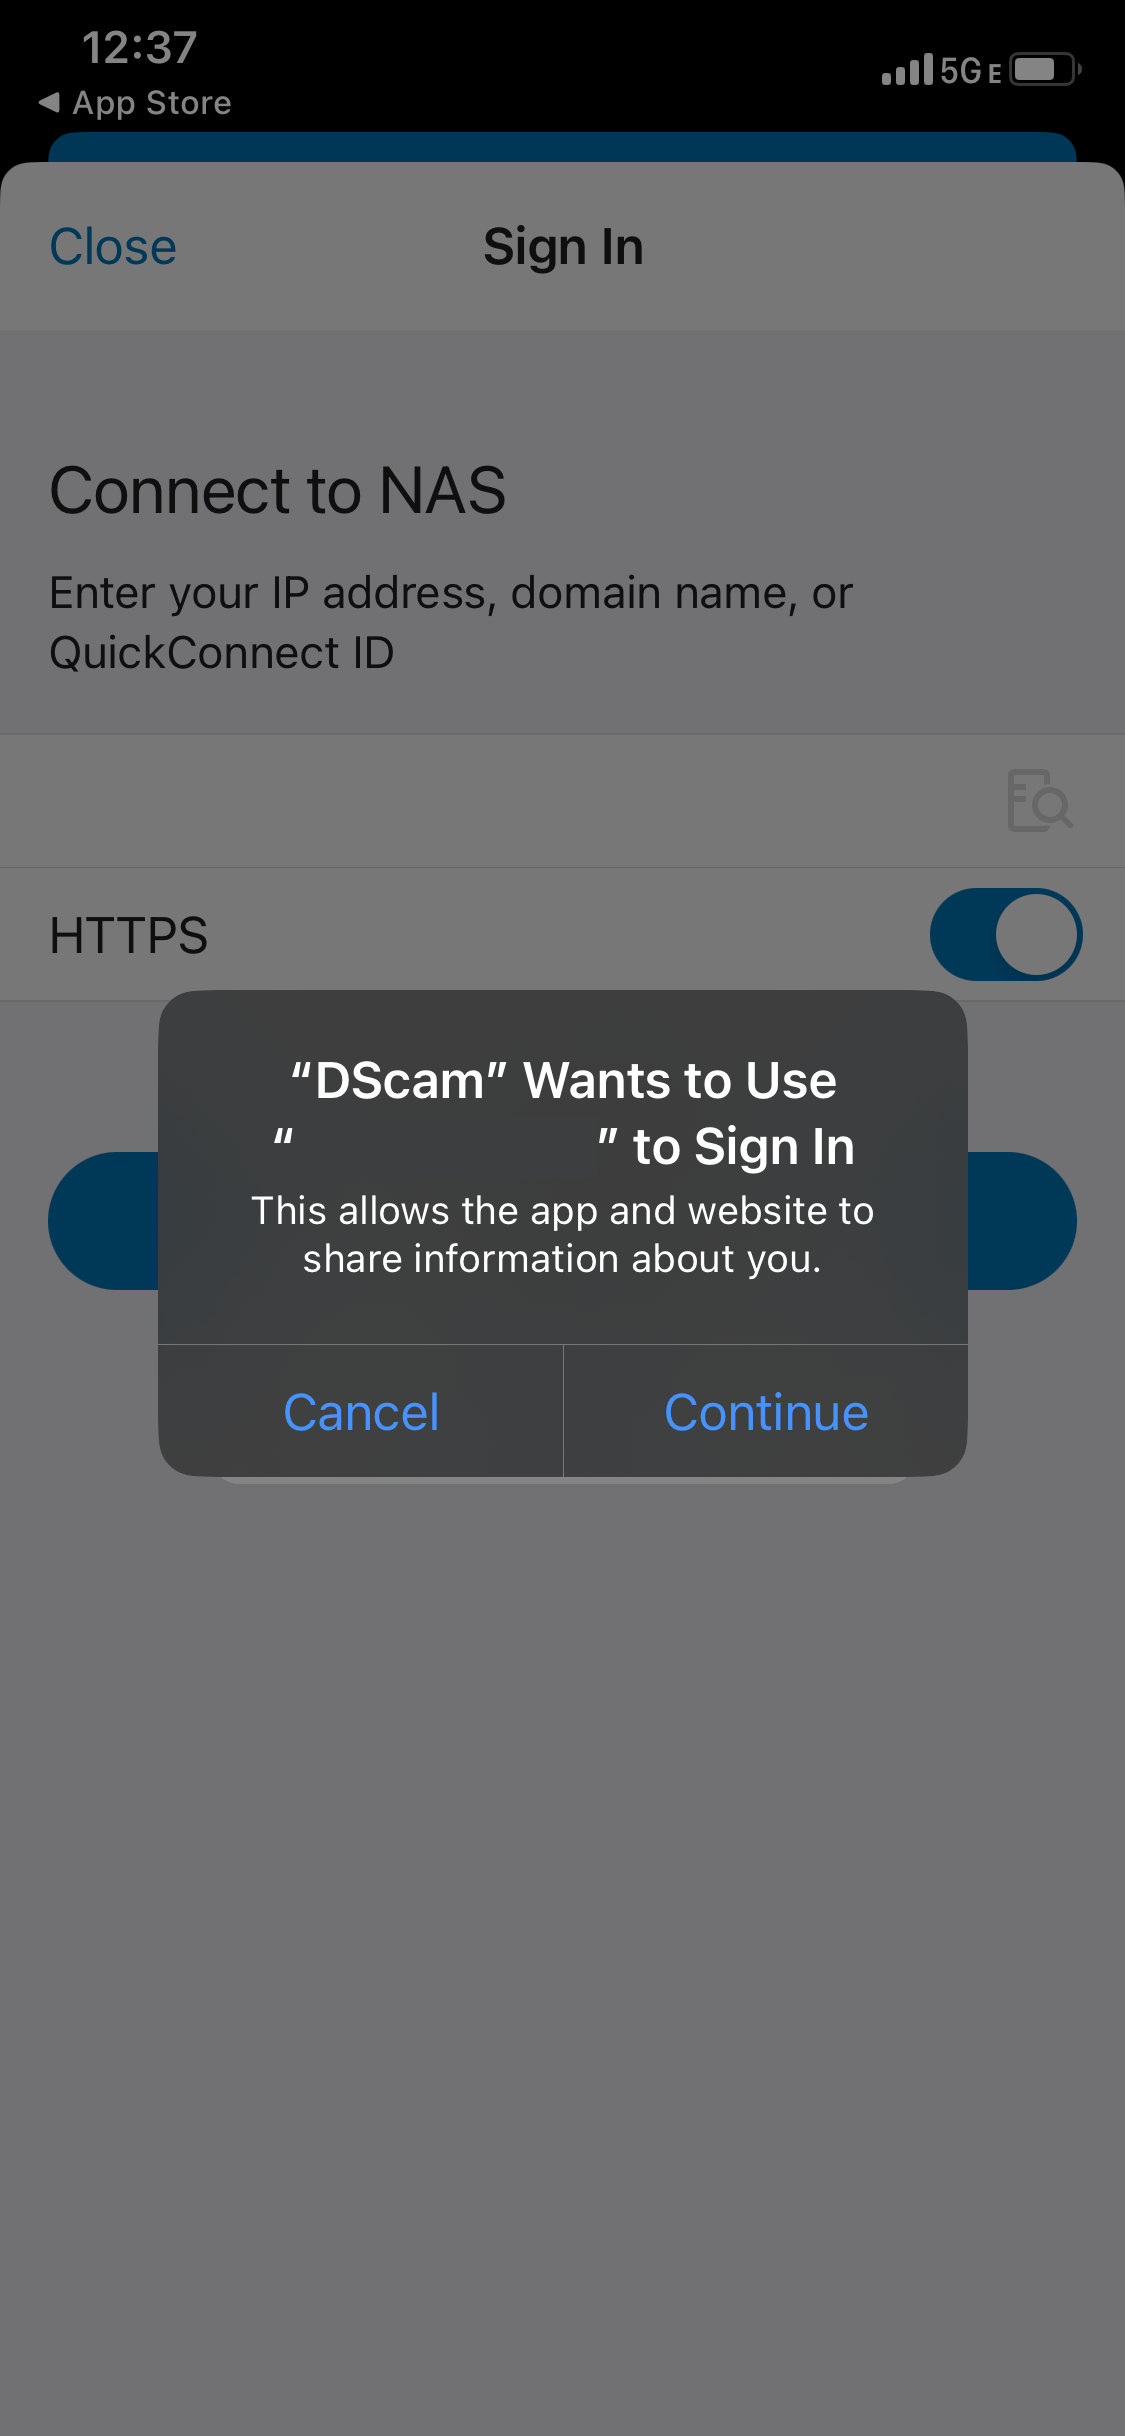
Step 6. Allow sign in
You'll be prompted by DScam if you'd like to continue with this IP.
- Click "Continue"
Figure 6:
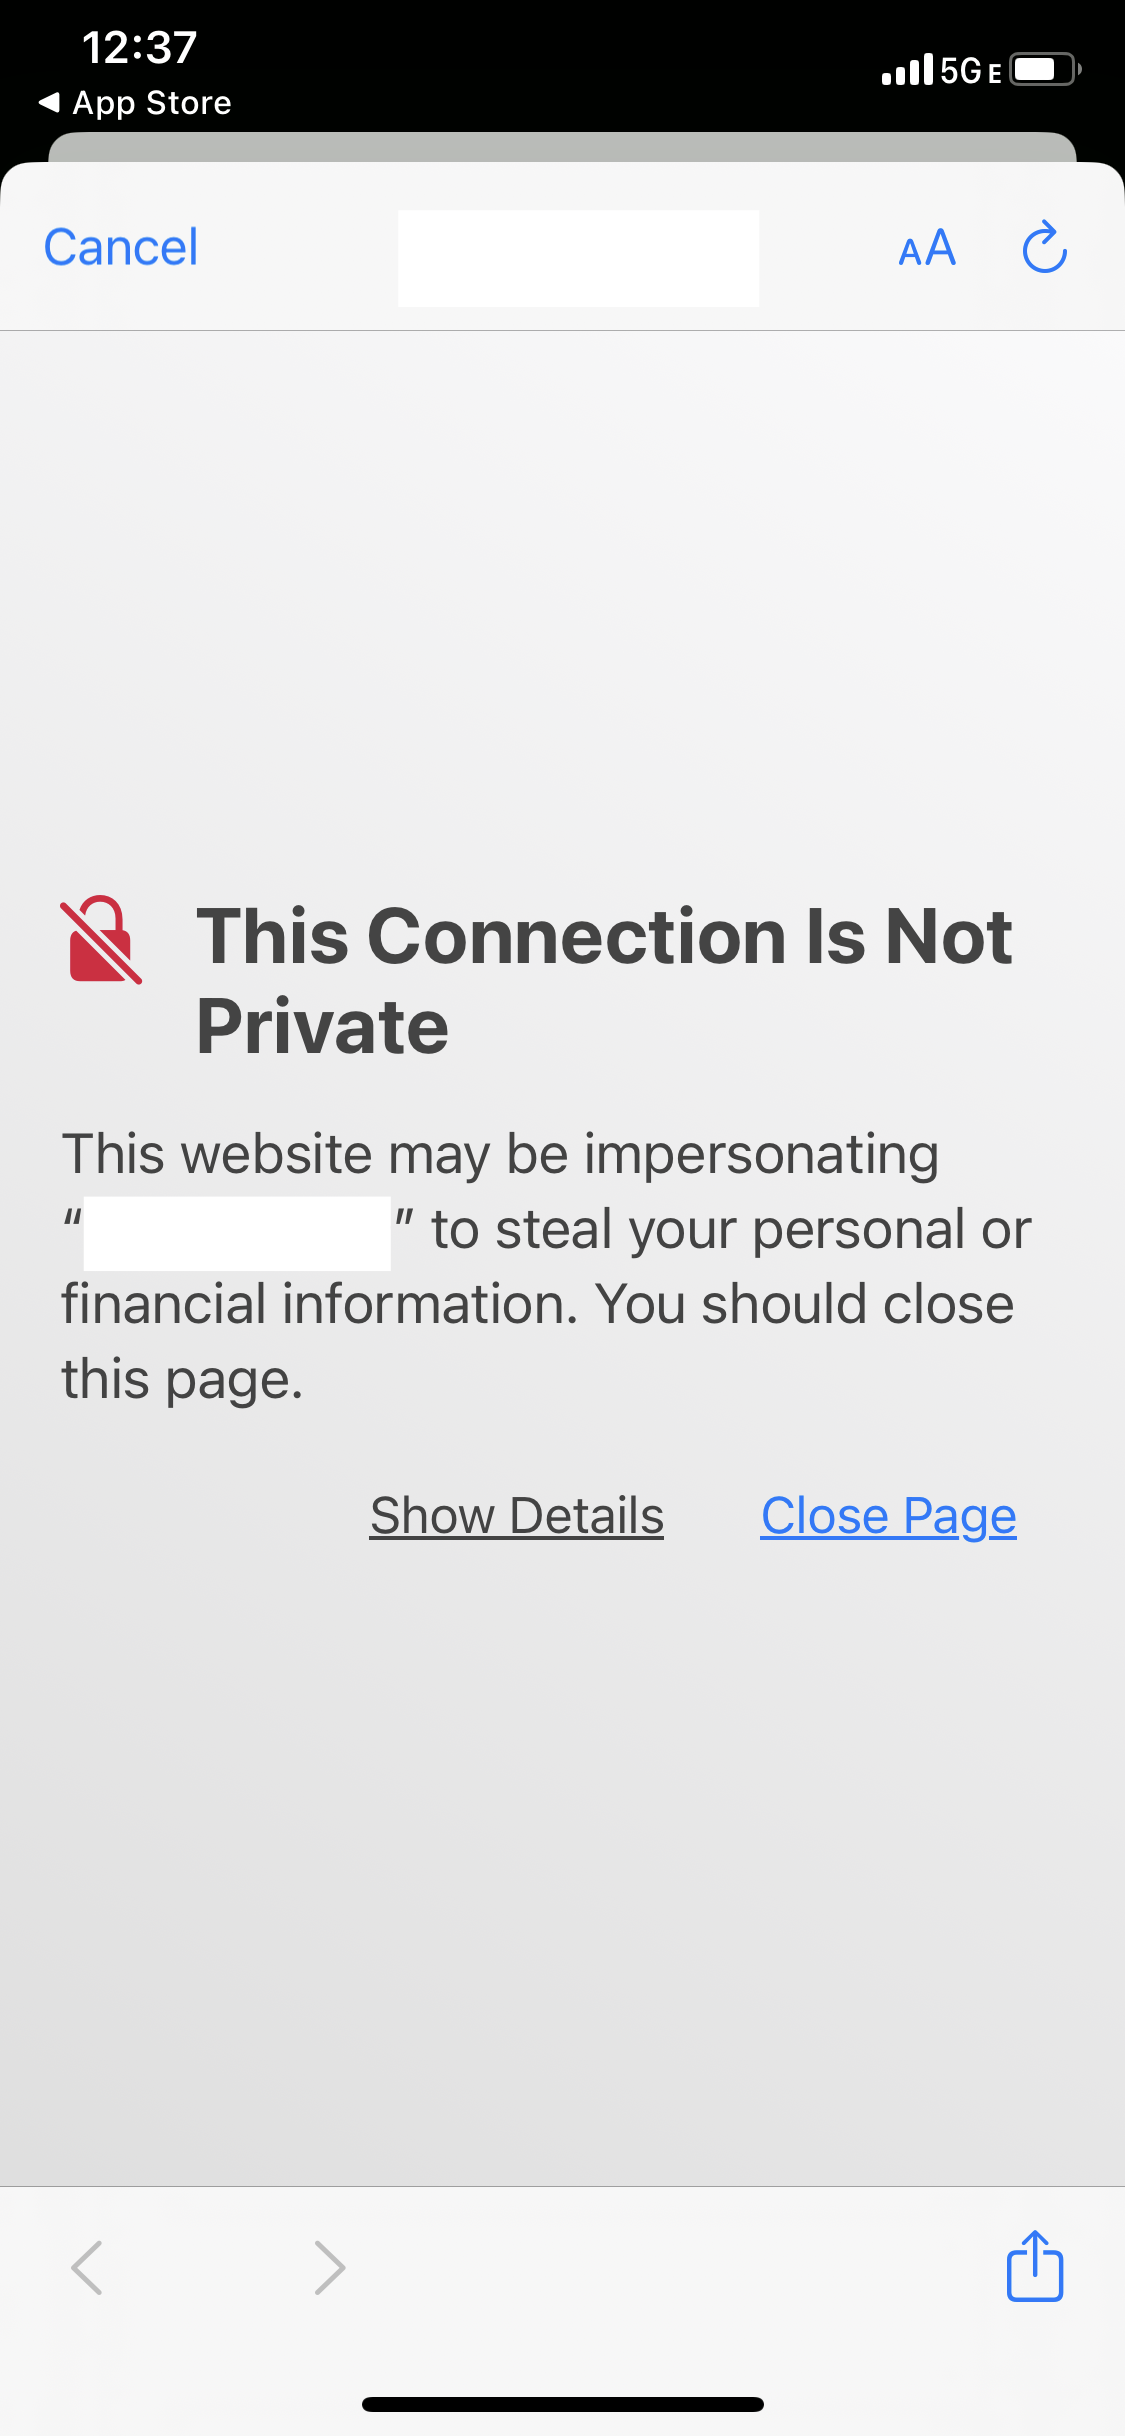
Step 7. Connection prompt
You'll receive a warning for the IP you're attempting to connect to. This is nothing to worry about.
- Tap "Show Details"
Figure 7:
Step 8. Confirm connection
This is the last prompt for connecting to your camera system.
- Tap "visit this website" at the very bottom
Figure 8:

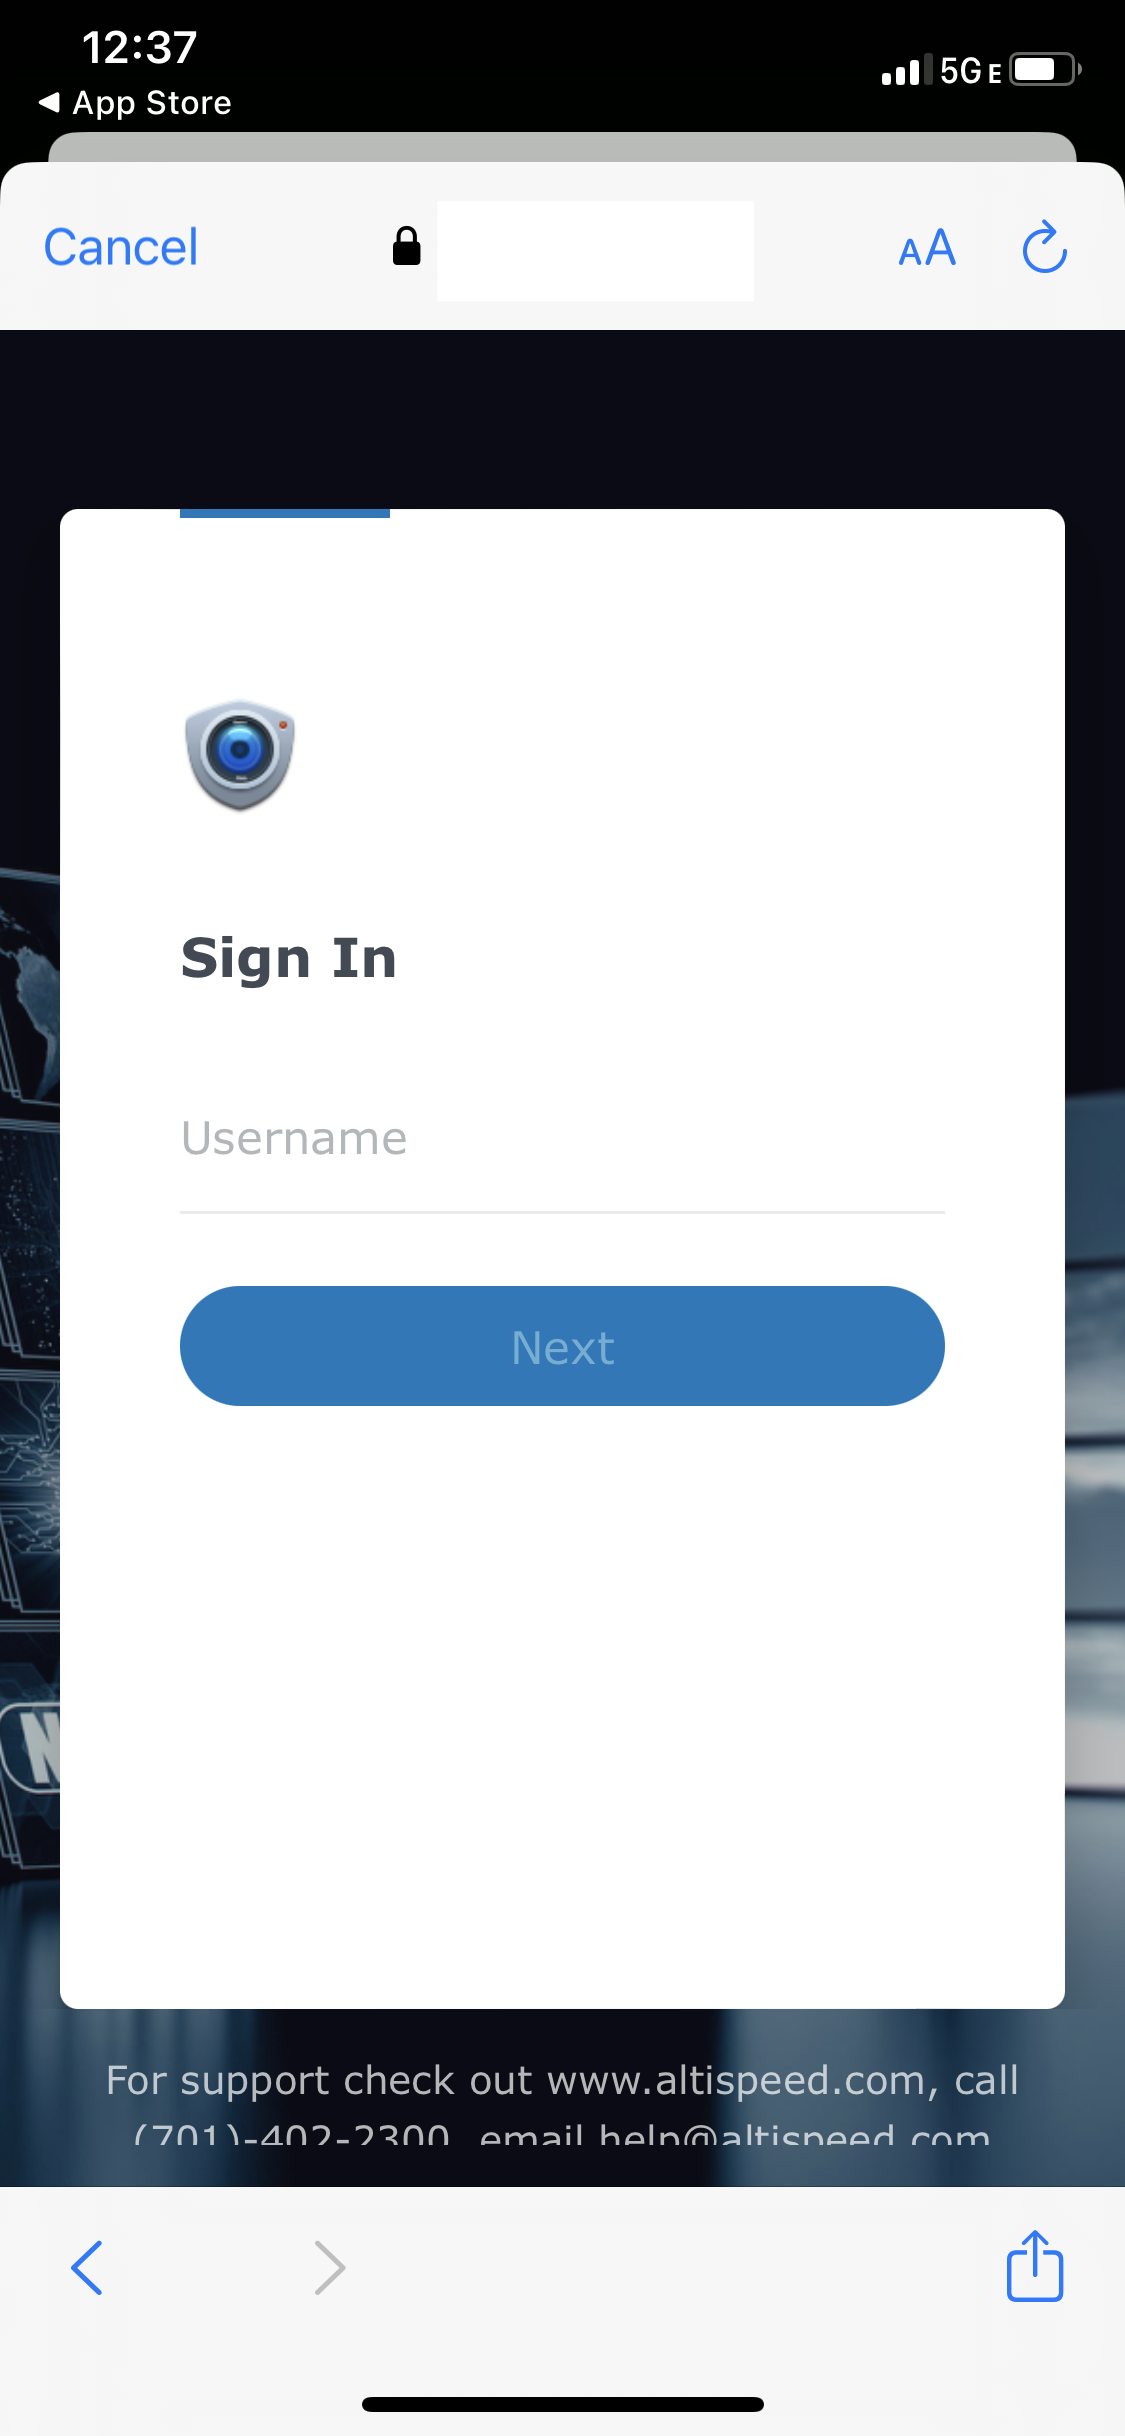
Step 9. Enter your username
You will now log in using credentials provided to you.
- Enter your username in the empty dialogue box
- Click "Next"
Figure 9:
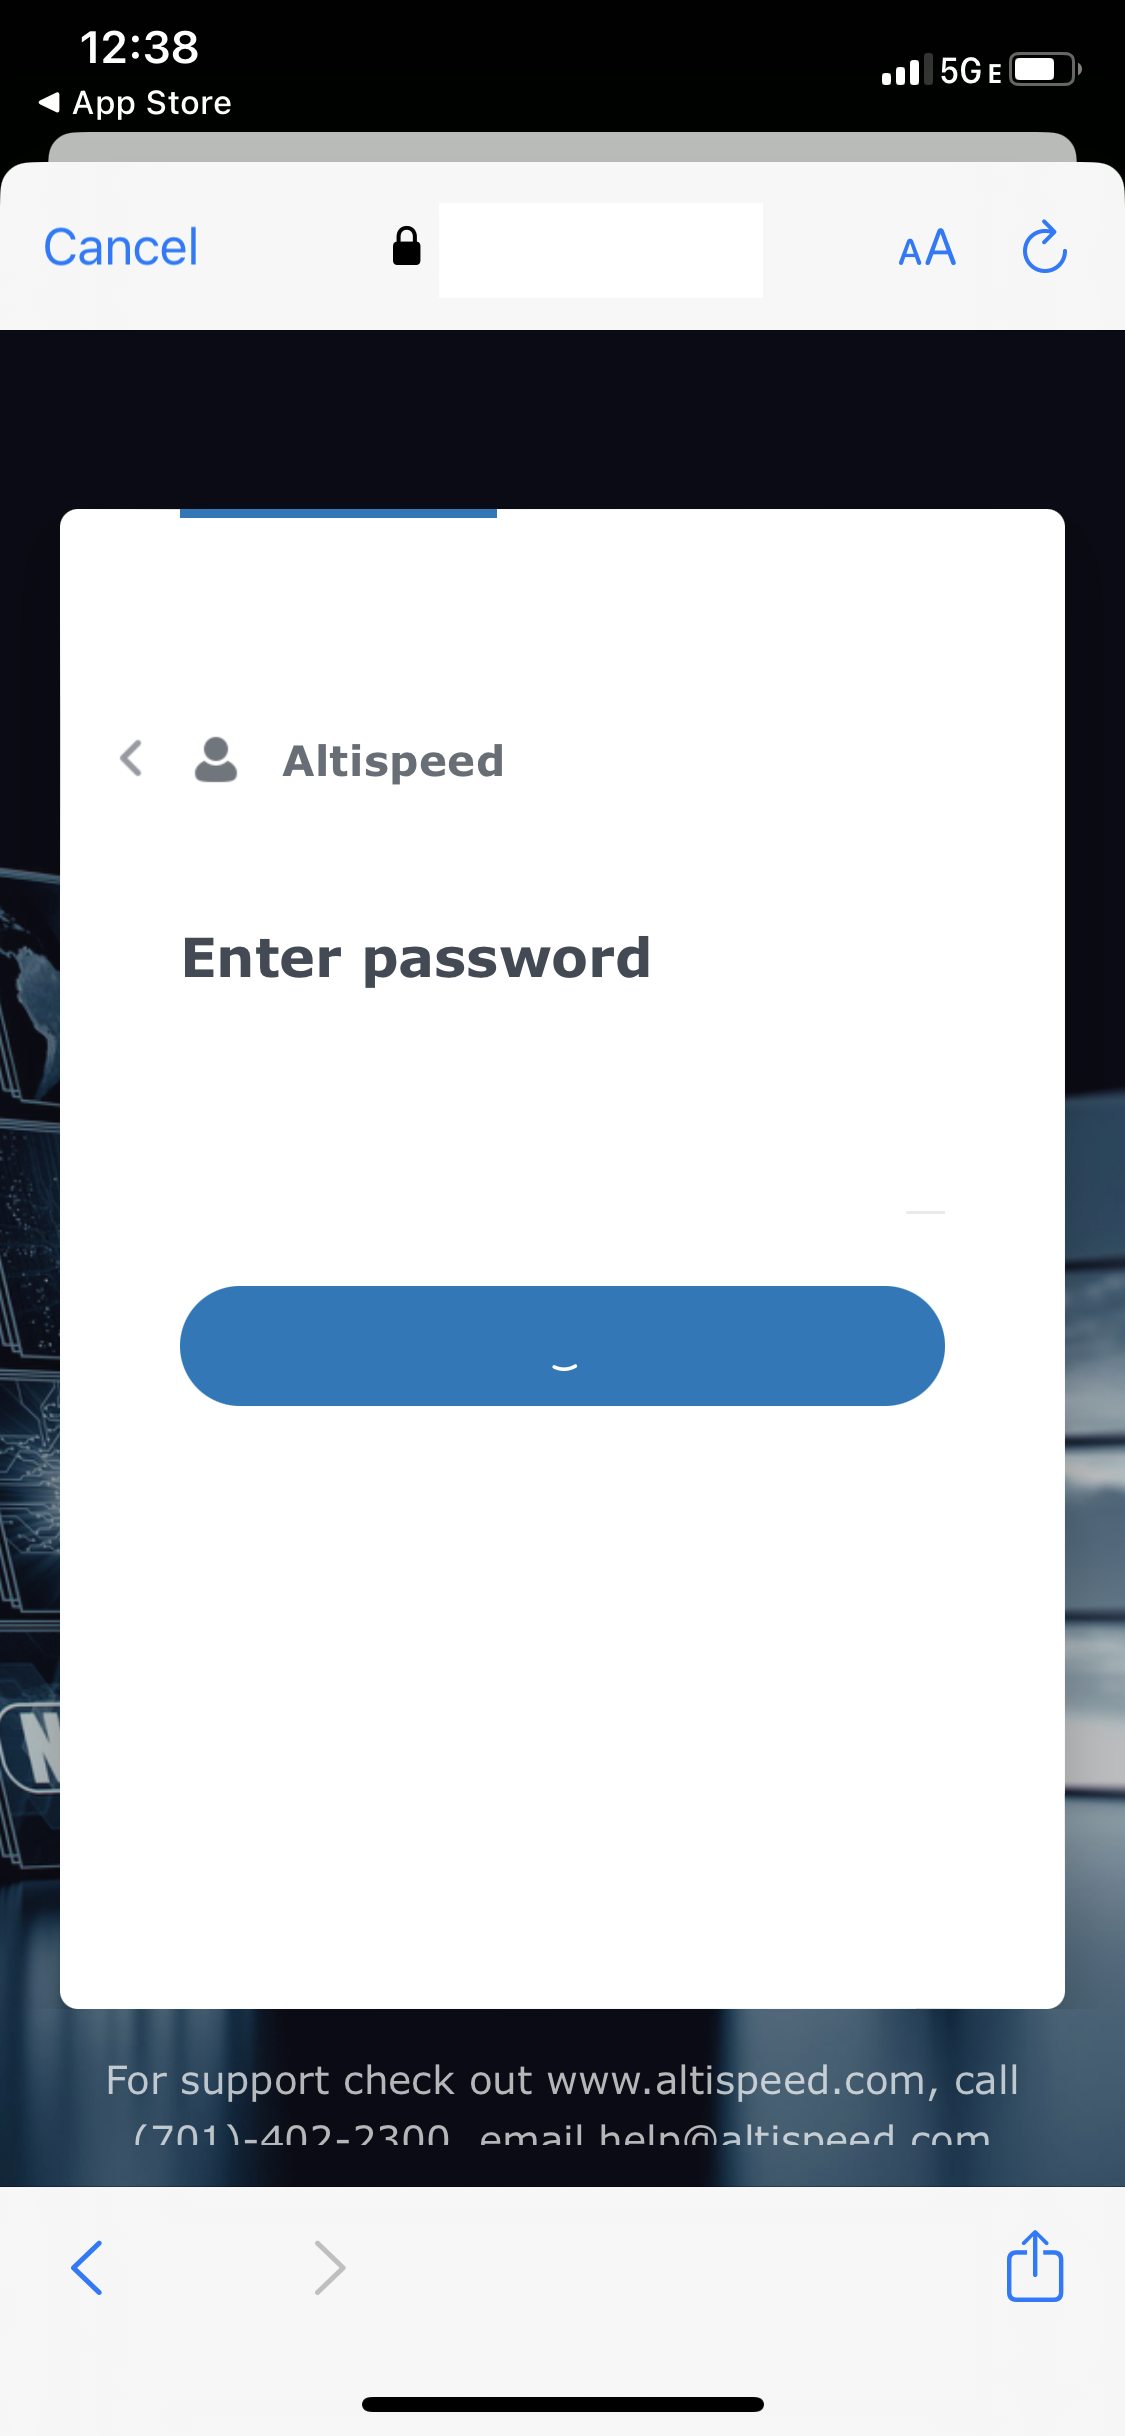
Step 10. Enter your password
- Enter your password in the empty dialogue box
- Click "Next"
Figure 10:
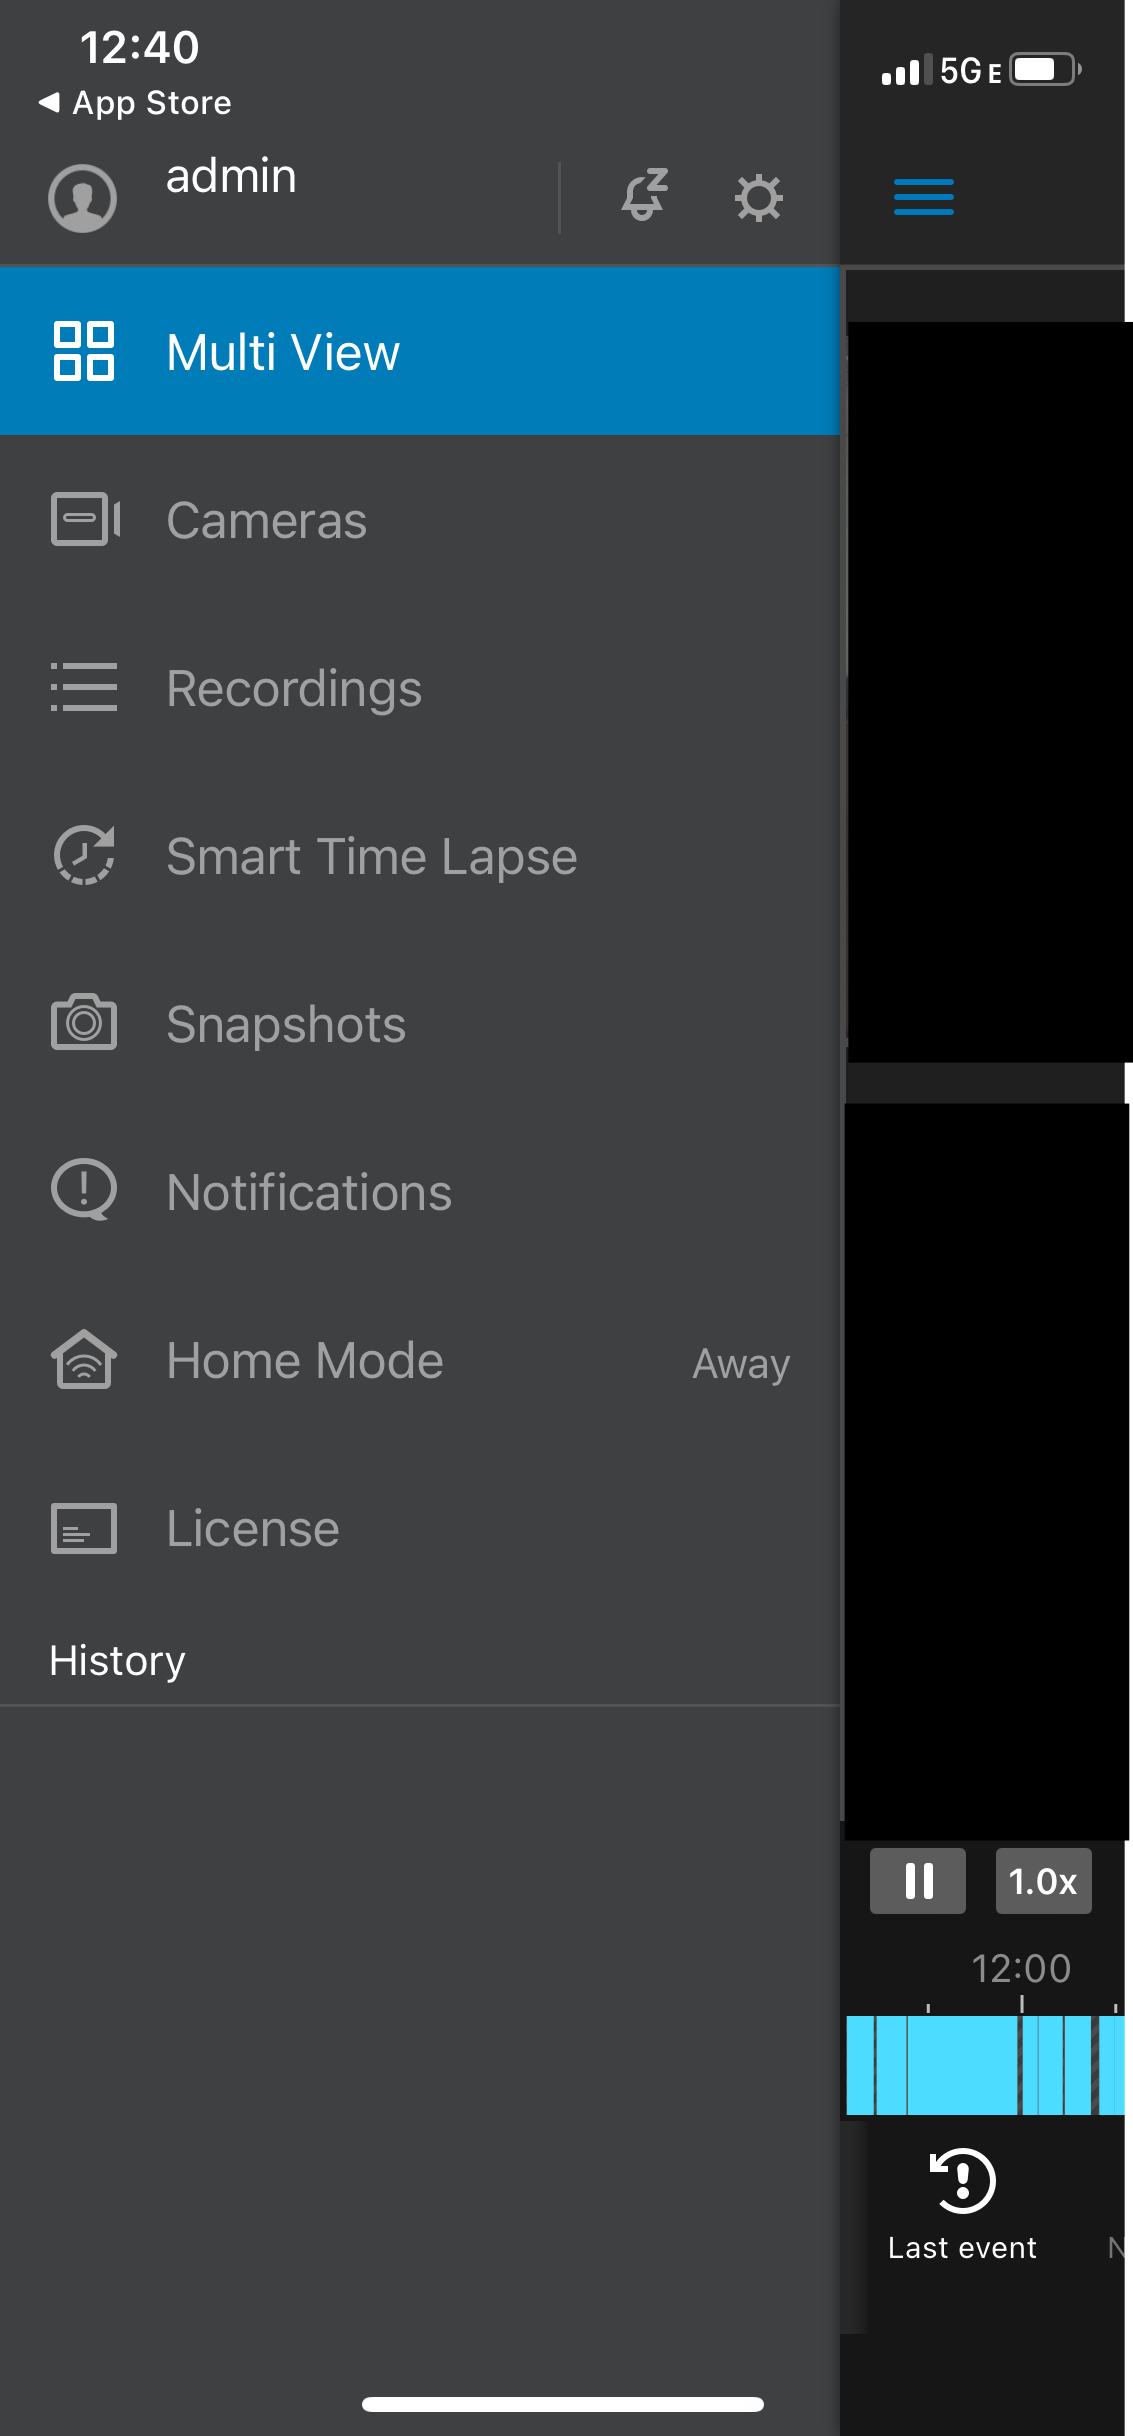
Step 11. Login succesful
You have successfully logged into your camera system
Figure 11: