Contributing
Local Installation
Pre-requisites
- A computer running linux
- An internet connection to that laptop
- A GitLab account
Dependencies
These docs are built using a python static site generator called mkdocs. We are using a theme called Material for MkDocs
Most of the install instructions are from Material for MKDocs documentation. They are listed here for convenience.
We need to install python version 3.7 or higher and pip and git
Next we will install mkdocs and Material for MkDocs.
You also need to install all of the mkdocs extension that we use.
pip install mkdocs-material-extensions==1.0.3
pip install mkdocs-git-revision-date-plugin==0.3.1
pip install mkdocs-git-revision-date-localized-plugin==0.11.1
Creating A Fork
After you have everything installed on your computer you will need to fork the repository. A fork is like a copy. You have to make this copy because we don't allow people to directly edit the main copy.
- Sign-in to GitLab
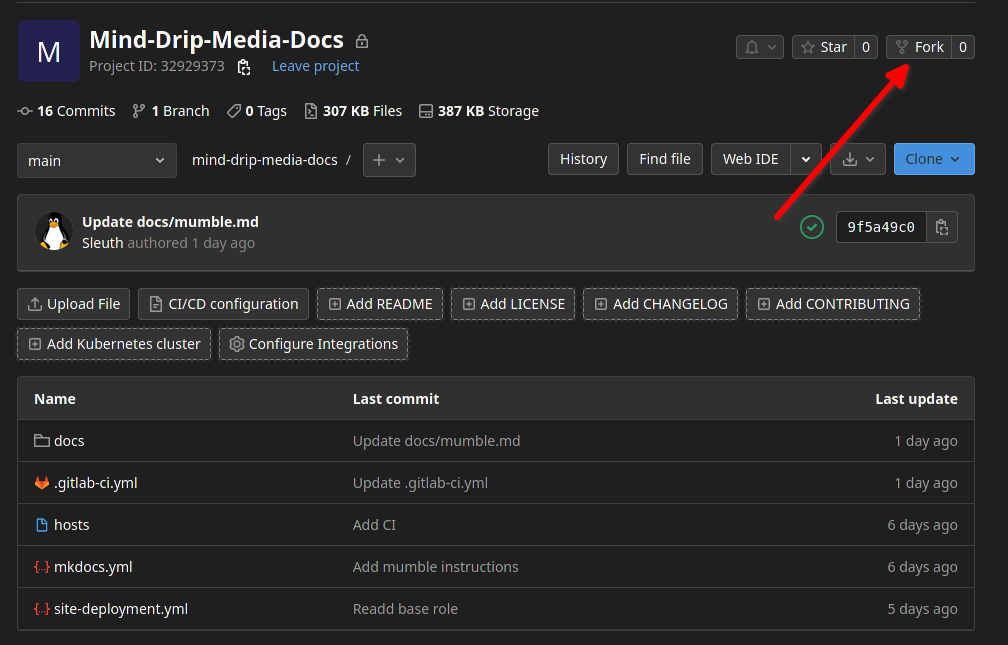
- Click This Link to our main repository.
Press the fork button. (Red Arrow)
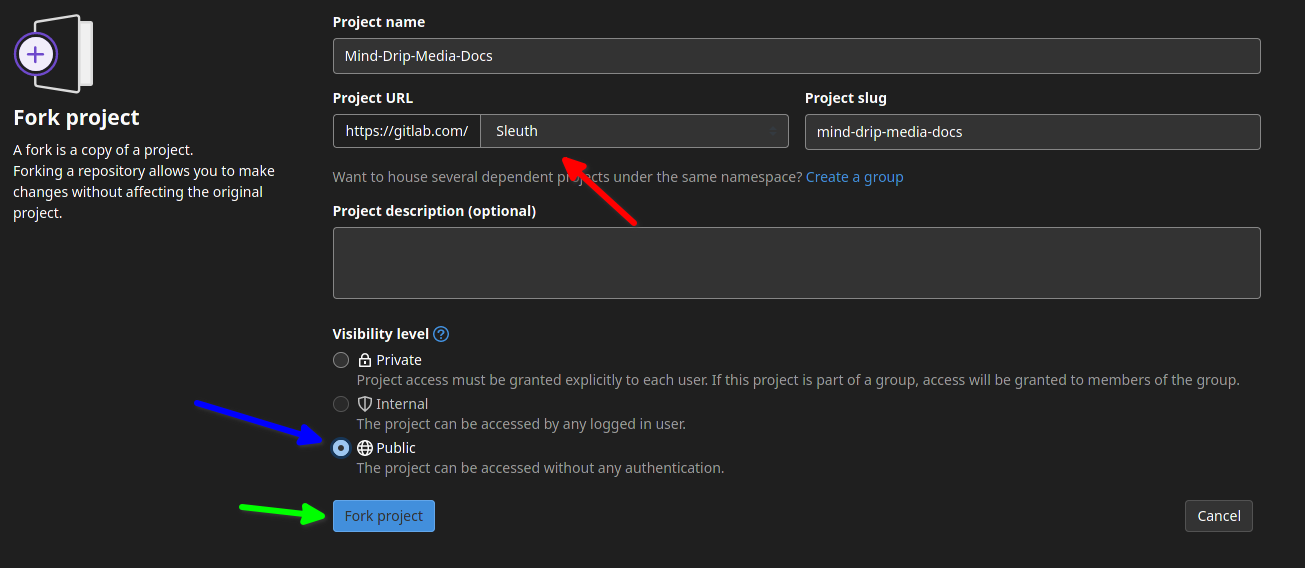
You will be presented with this page. Select your name in the drop down. (Red Arrow) Then set it to be public (Blue Arrow) Finally press Fork project. (Green Arrow)
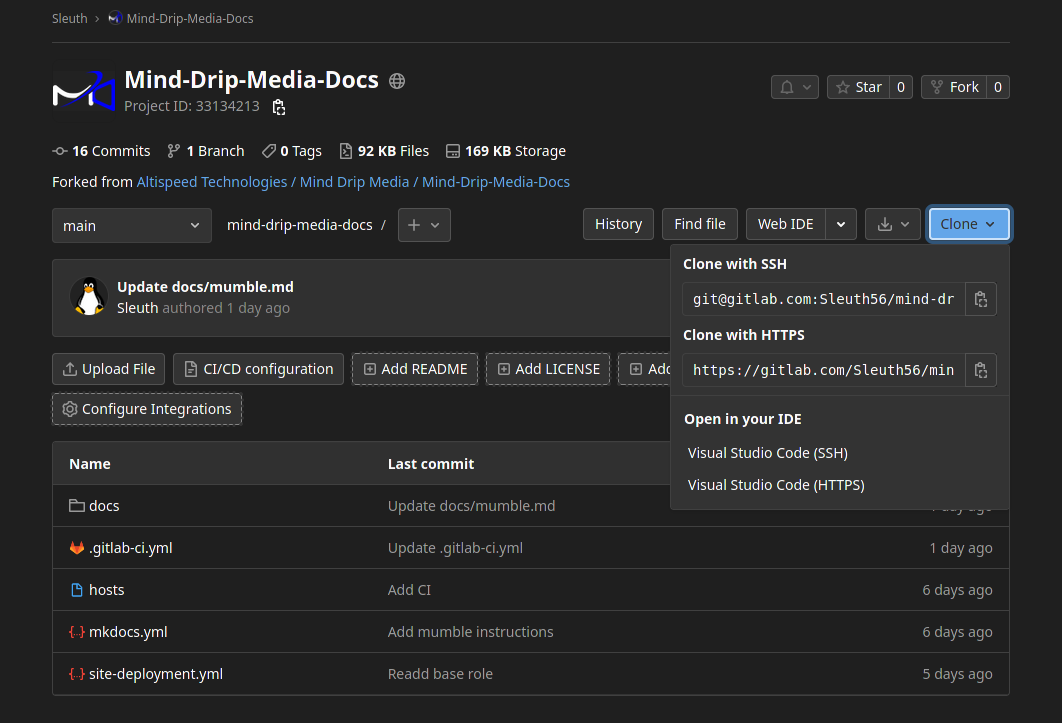
Cloning Your Fork To Your Computer
We will use git to clone the docs repository. You should use ssh if you have an ssh key connected to your gitlab account otherwise use password based auth. You will not be asked for your password here but you will when you push your changes in a few steps.
Open your favorite terminal and type
Create a branch for your changes. A branch will make it easier next time you want to contribute to the docs. Your branch name should be descriptive. For example, if you were going to write about setting up nextcloud. your branch name should be YourName-guide-nextcloud
Running mkdocs on your PC
You can see what your writing as if it was on the website by using the following command. Open a terminal into the repositories main directory.
Making your changes
- Open your favorite editor to the directory where you cloned the repository to.
- Make your changes.
Guidelines For Writing Docs
Photos
Image files should be in either .png or .jpg please keep these files relatively small. I.E. don't upload 4k images. This will only slow down page load times for others.
All photos should be placed in docs/assets/. When you create your docs you will make a folder for your images. This folder will be named the same as your markdown file.
Example:
You wrote some docs on how to setup Nextcloud.
Your markdown file will be nextcloud.md inside on the docs/ folder.
Your images will be stored in docs/assets/nextcloud/
You would use  to insert your image into the markdown file.
This goes the same for catagories. Let's say that there is a category/subfolder for server stuff.
Your markdown file would be placed in /docs/serverstuff/nextcloud.md
And your images would be in /docs/assets/serverstuff/nextcloud/
Markdown reference
Here is a list of common markdown things commonmark.org
Specific MKDocs Material Refrence
Making a commit
Open a terminal to the git repository directory. Copy and paste the below commands. Make sure to add a message describing what you added or changed.
Finally after you are finished and commited your work, it's time to push your work to GitLab. This is the step that if you went with password based authentication you will need your GitLab username and password.
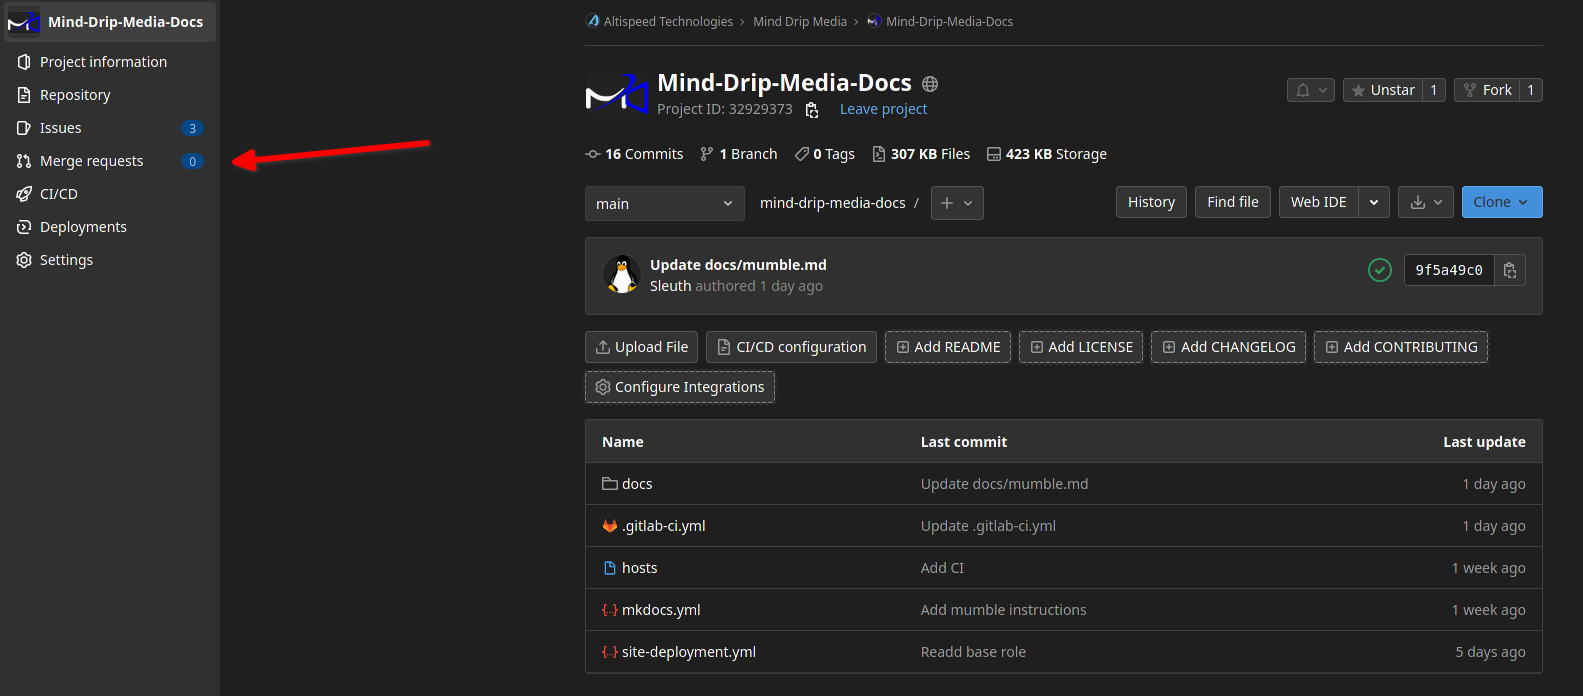
Creating a Merge Request
A merge request is how you put your docs onto the website. A MR as it's called is a request that you make to us to merge the changes from your branch to our main branch which is what the website is built from.
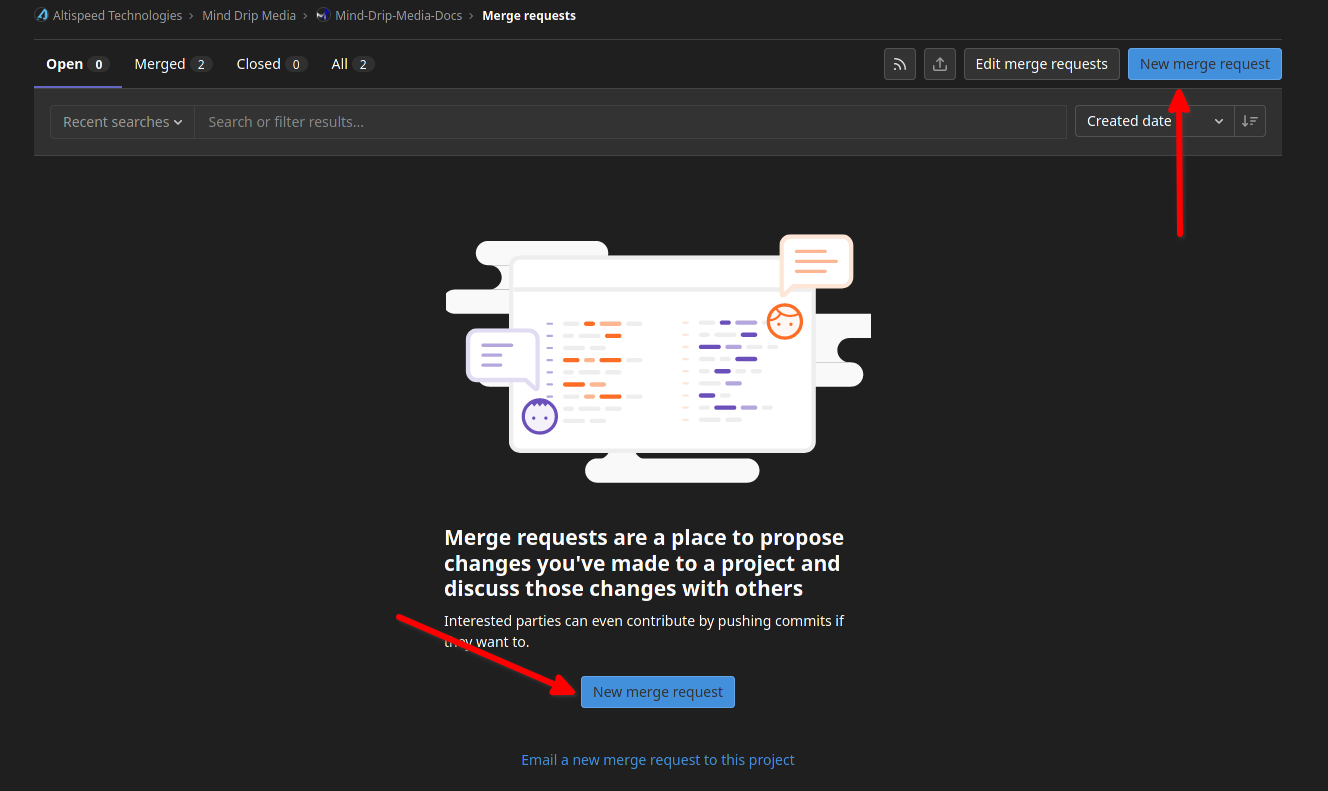
Open your repository on GitLab. Then click on merge requests. (Red Arrow)
To open a new merge request press the New Merge Request button. (Red Arrow)
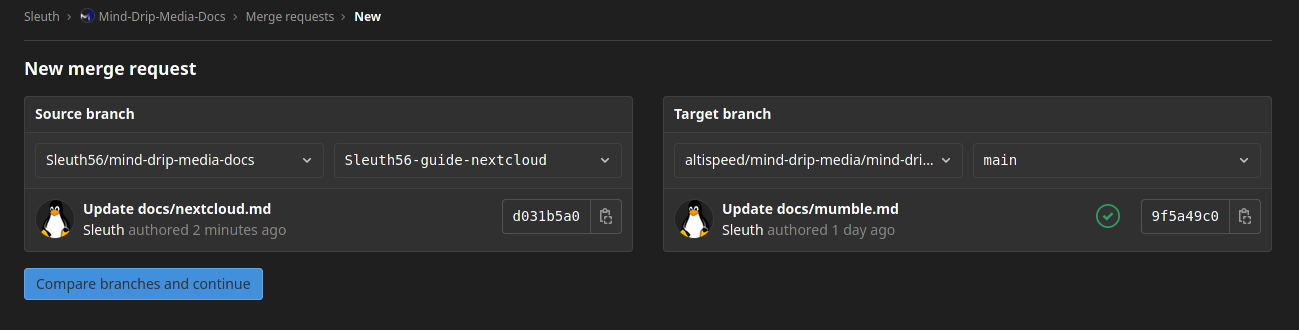
Make sure to set your source branch to the branch you made earlier. The target repository to altispeed/mind-drip-media/mind-drip-media-docs and the branch to main. Then press Compare Branches and Continue
Give your merge request a good title and description and push the Create merge request button.
Congratulations and Thank You for contributing to the mind drip media docs repository!
One of our staff members will read over what you submitted and may ask you to make adjustments before we accept your docs.